Happy Scrappin', Tami.
The whole album is constructed of photo mat-board pieces.
I cut the pieces into 8"x8" for the inside pages;
approximately 8.5"x8.5" for the covers.
This is how I covered the front and back covers.
I cut patterened paper approximately 1/2" larger
on all sides of the 8.5"x8.5" mat-board.
After cutting the pp (patterened paper) to size, I
scored around the board and folded to get a good
crease. After that, I cut the corners off of
the pp to reduce bulk at the corners.
Next, I spread some Modge-podge on the whole piece of pp,
put the mat-board in the center, and
fold over the extra on the sides.
Rub down really well while glue is setting.
After the sides are good and set, I cut coordinating
pp to 8.25"x8.25" and adhered it to cover the
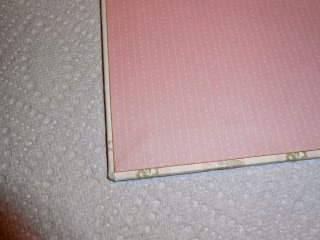
back of the front cover. This is how it
should look when done. Nice, mitered corners
underneath for that finished/professional look!
STAY TUNED...
***Will continue with inside pages & embellished cover on tomorrow's post***


Tami, thanks for the tutorial on the covers! I'm going to need that info soon. :-)
ReplyDeleteGlad I could help!! ;)
ReplyDelete