Friday, March 22, 2013

A Look Inside Of The "Family" Vintage Mini Album...

Hello Scrappers!  Well, it's been a while since I posted the cover of the "Family" Vintage Mini Album. I guess it's "better late than never". It's been crazy busy around here and I think SPRING FEVER has a lot to do with it!!  The weather has been beautiful and I can't wait for more.   Seeing all of the daylilly flowers blooming, it inspired me to create this album BEAMING with yellows & greens!  In this post I will be sharing just photos... No tutorial this time.  So, without further delay... I hope you enjoy the inside pages of the album.  Until next time, 

Happy Scrappin'!


As always, THANKS for visiting... And don't forget to subscribe or join the blog to keep informed of further projects and posts.  Also, tune in next weekend as we join in the SPRING BLOG HOP with Lone Wolf Designs LLC and many other TALENTED artists!! There will be prizes to be had...  {{wink wink}}


Friday, March 1, 2013

Lone Wolf Design Team Showcase - Family, Vintage Mini Album

Hello Scrappers! I'm here with another project for "Lone Wolf Designs, LLC."  For my Design Team Showcase, I decided to showcase my latest mini-album. It is a Family themed, vintage style mini.  I am very pleased with the way it came out. I originally started the album with the intentions of putting it up for sale... BUT, I like it so much, I may end up keeping it for myself!!  ((wink-wink))  I hope you enjoy...

Happy Scrappin',

 I made this cover with the same technique as the "Sweet Daughter" mini album.  This album measures 5"x8".  I just cut the 8"x10" mat-board in half... eliminating any waste. This album was also bound with the "Bind-It-All" machine & O-wires.


After covering the mat-board with patterned paper, I adhered a piece of solid/embossed cardstock at the bottom for added texure.  I used Tim Holtz, "Walnut Stain", distress ink to ink all of the edges and the texture of the embossing.  I then added pleated ribbon, lace, & a strand of flat-back pearls.


To embellish further, I added some paper roses, leaves, and ribbon tails. These roses started out as white, and as usual, I colored them with homemade glimmer mists. I then inked the tips with Tim Holtz, "Walnut Stain", Distress Ink. The white/golden leaves up top, behind the flowers were white satin floral leaves found in the wedding section of the craft store. They color well with the homemade glimmer mists. But, be fore-warned that they take a good few hours to dry. You can also paint them with a thin coat of acrylic paint to achieve a more even overall coverage.


 On the binding, I made a chunky dangle charm.  I started with a Tim Holtz - Ideaology - Swivel Clasp and added coordinating beads and charms for a unique vintage look. I love the look of these charms hanging off of the binding!!


 To add even more texture, movement, & embellishment to the binding... I used Tim Holtz Distress stains to color some crinkle ribbon (also by Tim Holtz). The stain colors were "Mowed Lawn", "Mustard Seed", and "Antique Bronze".


In addition to the ribbon, I also added some light green tule and mustard colored vintage seam binding. 
(seem binding compliments of Tri-City Pickers in Columbia, SC - THANK YOU!!)


I decided to title the album... "FAMILY". I stamped the title and inked the edges with walnut stain distress ink for that "vintage" look.  I adhered it to the cover in a "wavy banner" style. I used "Fabri-Tac" from Beacon adhesives to adhere it... I use fabri-tac to adhere anything that may be difficult to hold or handled a lot. It bonds well and has a strong hold.


There you have it... my VINTAGE FAMILY MINI ALBUM!! 
Stay tuned next week for the posting of the inside pages... You will NOT want to MISS this!!  Thanks for visiting and don't forget to subscribe to my blog so you can join in on all of the CREATIVITY.


~~~~~~~~~~~~~~~~~~~~~~~~~~~~~~~~~~~~~~~~~~

Find some of these productS & MORE for 
AMAZING DISCOUNT PRICES at...
Cover Photo

~~~~~~~~~~~~~~~~~~~~~~~~~~~~~~~~~~~~~~~~~

Find more inspiration and crafty conversations at...
Cover Photo

~~~~~~~~~~~~~~~~~~~~~~~~~~~~~~~~~~~~~~~~~


Monday, February 11, 2013

"Black Tie Event" TP Mini Album

Hi Scrappers!  Well, it's been a while since my last post, but there has been a lot going on around here and sicknesses have made their way around the family.  But, we are getting better, Praise God!!  This week I want to show the TP mini that I made for the "Black Tie Event" Swap over at THE SCRAP CAFE' on FB. I had a lotta fun with this one. I hope you like it.  As always, your comments and suggestions mean a lot!
 
Happy Scrappin',

~ ~ ~ ~ ~ ~ ~ ~ ~ ~ ~ ~ ~ ~ ~ 
 
After the TP rolls were all good and flat... to start this project, I tore some pages from an old paperback Bible to cover each roll with. I cut it to size (leaving about 1/4 larger on each end), then adhered to the rolls with my ATG, leaving flaps on each end to fold inside of the roll. This covers the ends quite well. I then spritzed with homemade glimmer mists (black & silver), and inked the edges with Tim Holtz Distress Black ink and
an ink blending tool.


This is the finished cover. The piece in the middle is a resist canvas piece by PRIMA. I left it blank so that the recipient could write/stamp the title of their choice. The leaves you see here are silk floral leaves that I colored with homemade glimmer mists. If you try this, you will need to apply a very thick coat, let them dry for a couple of hours, then mist again. Hold the mister fairly close to the piece to get good coverage. The silk florals do not take the mist as easily as paper flowers/leaves, but it is attainable.


 These black and silver paper flowers were spritzed with the same glimmer mists... then coordinating stickles were added to the edges of the petals and to the leaves. The white flower is a silk from the wedding section of the craft store. I opted to leave it white, it came with the tule attached to it as is. I topped it off with a pretty little stick pin that my 10 yr old daughter made... It was perfect for this little project!  The silver "swirls" are actually glitter brads. I flattened out the brad flaps on the back and adhered them under the flowers. I use "Fabri-Tac" by Beacon to hold bulky/hard to adhere items. It works EXTREMELY well!


This is the back of the cover roll. I found those metal flowers at "Tuesday Morning" at an exceptional price. The tag is embossed with silver detail embossing powder. I traced the flower pattern that was already on the paper and wrote the sentiment by hand with an embossing pen. The tag removes easily for more space behind it to add a photo. The corners of each one of the background papers that you will see are punched with a decorative corner punch.


This is a little tag/pocket page. I cut the background paper and the silver pocket paper the same size. I then punched the corners with the decorative corner punch. After, I cut the silver paper in half to make the pocket. I lined it up with the bottom of the background paper to make it look like all one piece. The corners of this page are stamped and embossed with silver detail.  I completed the page with a strip of sequin ribbon and a little title strip. The "tab" on the tag is made with spellbinders... "Donna Salazar - Creative Page Tabs".


The butterfly on this page was stamped with a Tim Holtz Stampers Anonymous stamp. I embossed the edges of the background paper and the title strip. I used silver brads & a strip of "bling mesh" to dress up the title. (Thanks for the bling mesh, DeAnna!)


The pocket on this page was created with a canvas resist piece.  I spritzed it with silver glimmer mist and inked the edges with Tim Holtz Distress black. I only adhered the edge of the bottom and side with Fabr-Tac to keep it open for the tags to slip right in. The tag in the front was stamped with a flower stamp and a decorative corner stamp. Then I added crackle accents to the flower.


This was a fairly quick and simple page. Stamped the corner of the paper with the edge of a decorative corner stamp and embossed. Added a resin flower and a resist branch up top.


This pocket page used the same technique as the first. I added a strip of bling mesh and a little title strip made with my label maker... BUT, when I added crackle accents to the title strip, it faded the words. That was an experiment that didn't turn out as I'd hoped. The tag was made from the same Colorbok patterned paper stack. It already had this beautiful butterfly foiled on it.  Another Donna Salazar tab and embossing on the tag.


The is the final page and the back of the album. I added a ribbon slider to a piece of ribbon and adhered it on each end with Fabri-tac as tightly as I could get it. The tags hold nicely under the ribbon and are very easily taken in & out.  The black tag was embossed on the edges and a little fold of black ribbon adhered on the end for a "tab". 


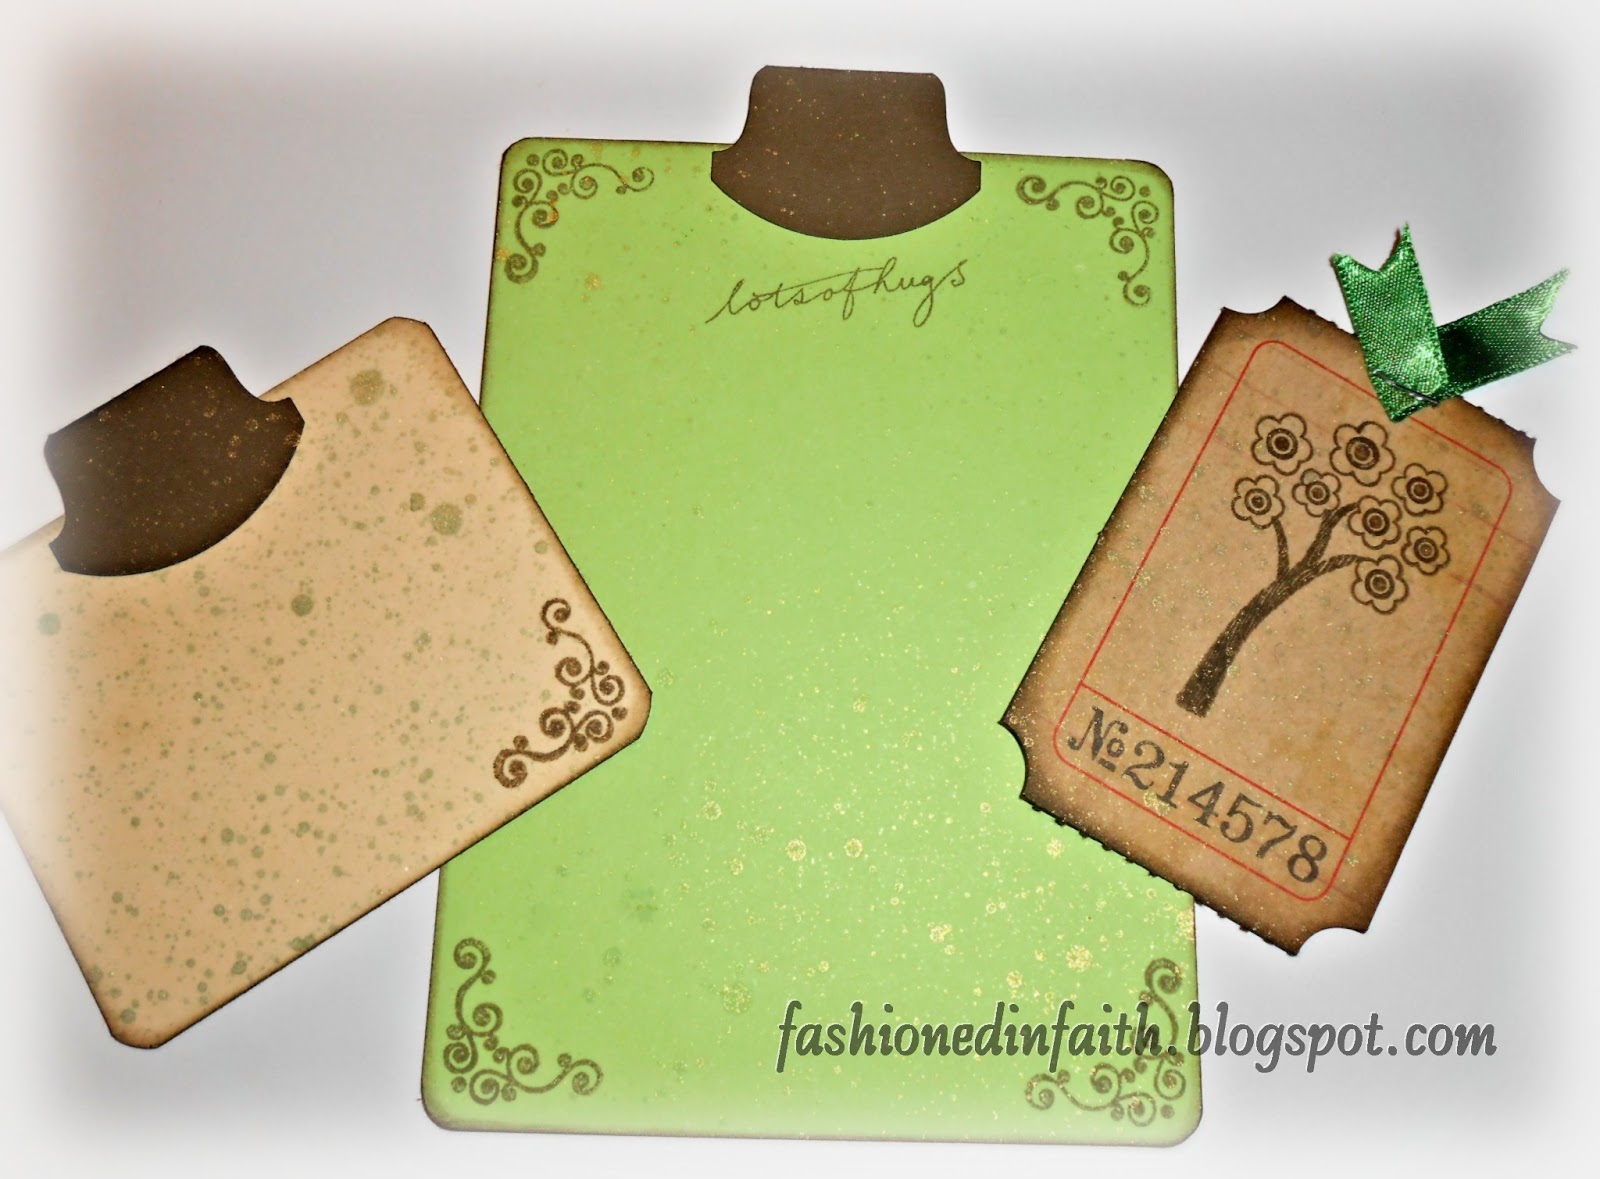
A closer look at the tags that are in the album. Everything but the silver butterfly was stamped with black Archival ink.


I added crackle accents to the butterfly. I think it adds a nice texture. This was my FAVORITE element in this albem. I speckled the paper with a fine point felt tip pen for added texture.


One more more look at that GORGEOUS cover!!  I am so glad that the recipient loved it!!
 
~~~~~~~~~~~~
 
Thanks again for tuning in and checking out my CREATIVITY!  I hope that I have inspired you to stretch your creative juices to a new level. Have a blessed day...
And don't forget to visit us at ...
and
both on Facebook!!


Friday, February 1, 2013

Design Team Showcase... "Black Tie Event" Stick Pin Display Tag.


Hello Scrappers! 
Well, It's time for my FIRST DESIGNER'S SHOWCASE for Lone Wolf Designs, LLC.  The project that I chose to showcase this week is my January stick pin swap for THE SCRAP CAFE'  on facebook. I will be concentrating on the display tag in this blog post. The theme for this stick pin swap was "Black Tie Event" for New Year's and the color scheme was black, white, silver and/or gold.


This is the complete and finished pins/tag for the swap. For the tag background color, I used distress stains to create a "washed color" effect of silver and black. I smeared the stains right onto my craft mat, putting the silver in the middle and the black around the outside of the silver. I then turned the tag face down and layed it right on top of the stains and pressed so that the tag would soak up the stains. Dry with a heat tool.


Before inking the edges with distress ink, I punched the corners of the tag with a decorative corner punch... giving the tag more texture and design.


After inking the edges, I stamped the tag with part of the diamond checkerboard stamp, a sentiment, and a flowered flourish.


I wanted to add more texture, so I put glossy accents over the diamond checkerboard stamped image. I also added black diamond stickles to the flowered flourish stamp to bring in some bling!


To embellish; I added a couple of different punched flowers and a resin flower. Underneath the layered flowers, I have 2 layers of foam pieces to not only add dimension to the piece, but to provide a place for the pins to "stick" into.


For more embellishment and texture, I added a couple of tickets. The "soar" ticket I just adhered flat to the tag. The "live" ticket I popped up a little with one layer of foam.


To give a more uniform look, I inked the edges of these tickets also and added glossy accents to the letters in order to enhance them. I also spritzed them with homemade silver glimmer mist...that's the added SPARKLE you see!


To top it all off, I added some black ribbon and silver metal riboon. Instead of having them just hang straight, I wrapped them around 2 skewer sticks and heated them with the heat tool to set in the curl. (be very careful with this step, you can easily burn the ribbon in two, melt it to the stick, or accidentally burn yourself... USE CAUTION!)


Carefully remove the sticks AFTER the ribbon has cooled and maintaining it's curly shape. The craft mat you see in each photo is non-stick & heat resistant... LOVE IT! 


There you have it!!  The completed tag. Easy enough, right!?
Thanks so much for tuning in once again and joining in this creative journey with us!  Don't forget to check out the tabs at the top of the page and visit the other designers in the Lone Wolf Designs design team!!  Also, take time to "follow" or "subscribe" to my blog so that you can continue to share in the latest & greatest CREATIVITY!
Until next time...
 
Happy Scrappin',
~~~~~~~~~~~~~~~~~~~~~
 
The following products were some used in the making of this tag and can be purchased at a discounted price of 75% of the MSRP thru Lone Wolf Designs Discount Retail Sales group.
 
Ranger - Glossy Accents Ranger - Glossy Accents
Ranger - Stickles Glitter Glue - Black Diamond
Stampers Anonymous - Tim Holtz Cling Mounted Stamps - Mini Muse
Advantus - Tim Holtz - Ideaology - Adage Tickets
Ranger - Tim Holtz - Distress Stains Black Soot
Ranger - Tim Holtz - Distress Stains - Metallic - Brushed Pewter
       

Ranger - Archival Ink Pads - Jet Black
Ranger - Distress Pads by Tim Holtz - Black Soot
Ranger - Non-stick Craft Sheet